
The Lost in Space B9 Robot Replica
Here’s a peek into my latest “little” project. Building my own Lost In Space B9 Robot replica. For those of you old enough to remember, no explanation is necessary. For the younger ones looking in, he is the Robinson family’s environmental robot from the campy Lost in Space TV show during the mid sixties. You may want to see the whole series, only 3 seasons. And it is unlike any project I’ve done before. Theres a lot more info here: The B9 Robot Builders Club Maybe you’ll want to build your own?
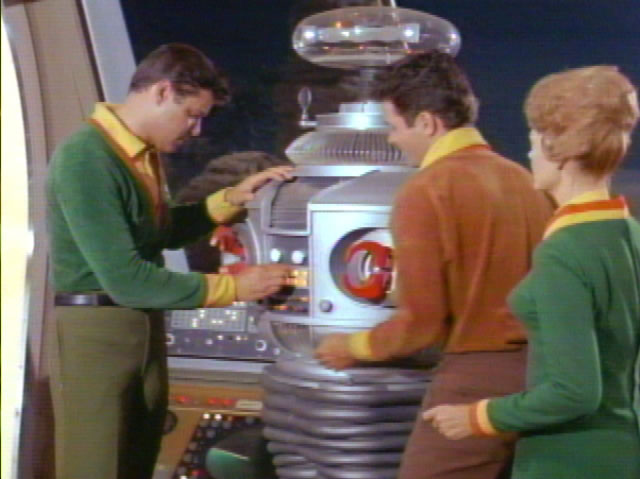
Pics from the LIS TV show.


Work began in 2004 and I finished in March of 2008.
I started with the torso. Many start with the legs, but I wanted to get into the electronics and automation first. Mine will be patterned after the original and made as a costume so there wont be a CSS added.
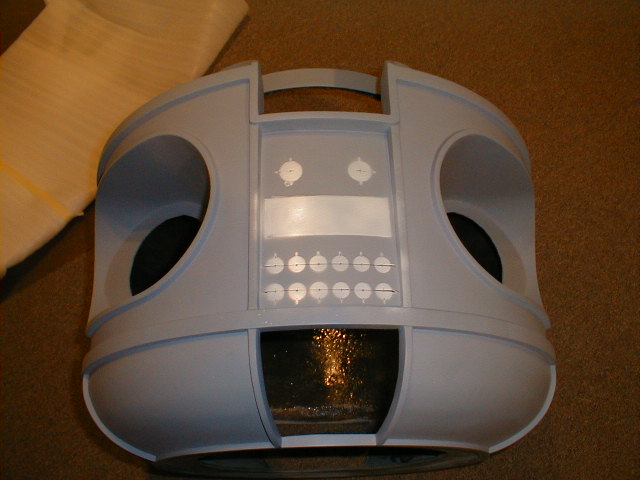
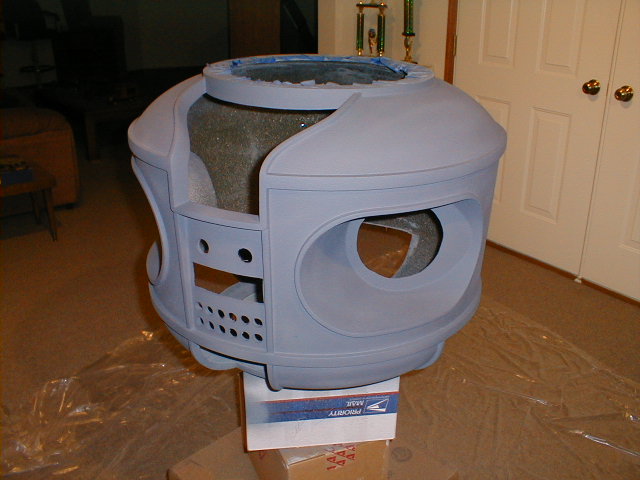
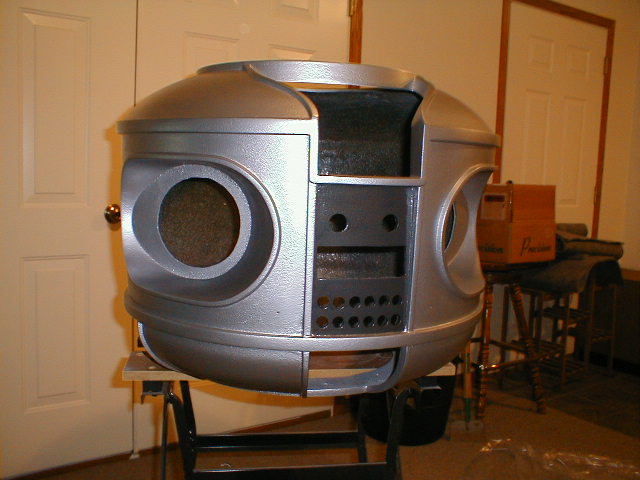
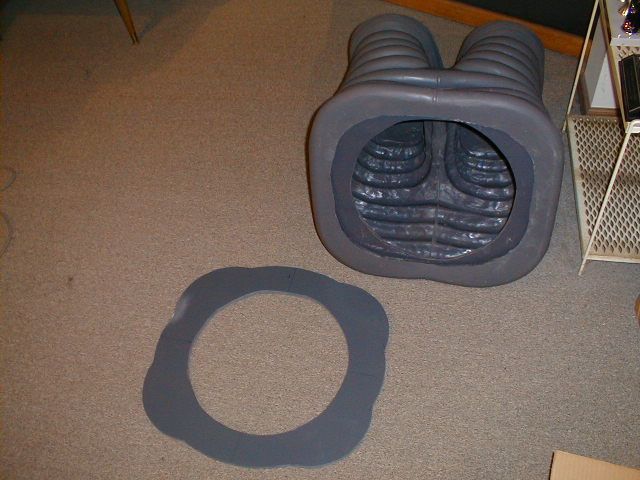
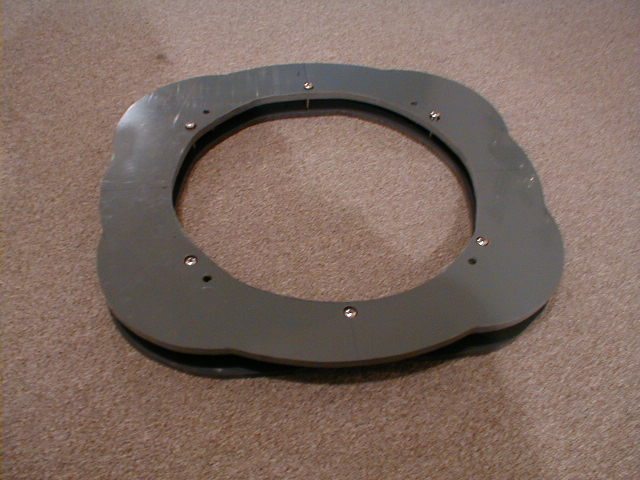
The torso section in the midst of being sanded and primered and the holes being cut out.
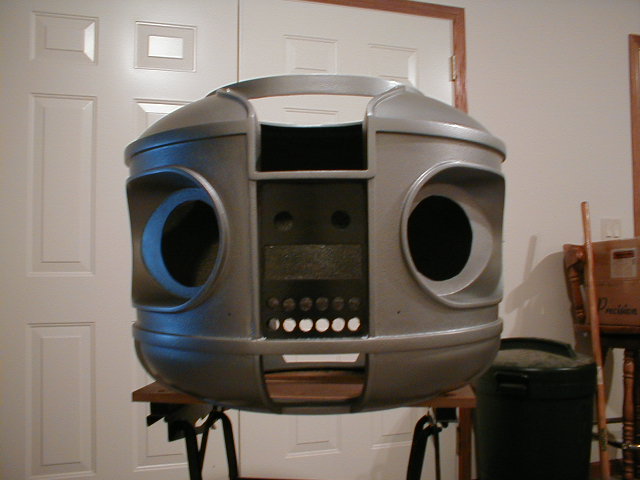
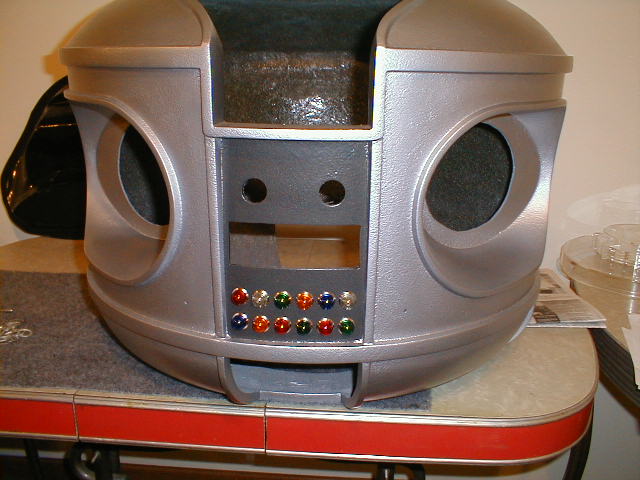
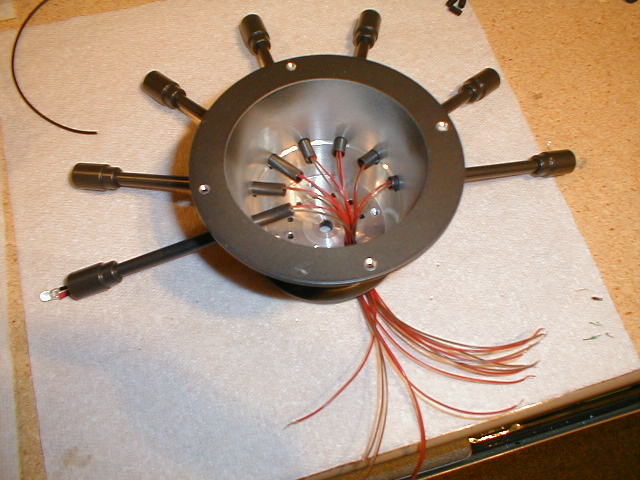
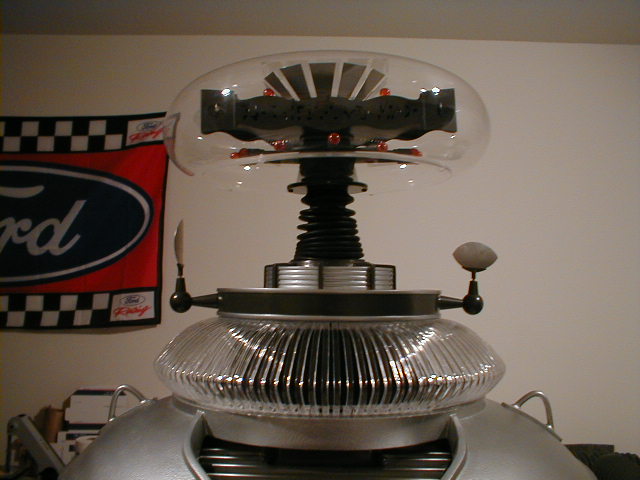
A little paint, Dupli Color T229, and some of the lights being put in. Also test fitting the bubble, radar & collar.
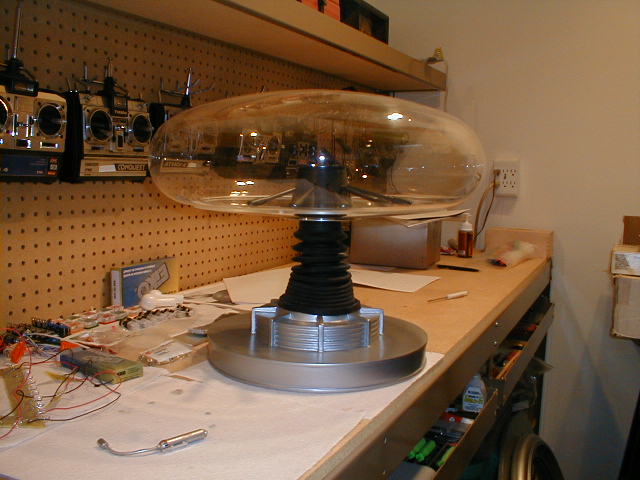
Radar and bubble initial test fitting.
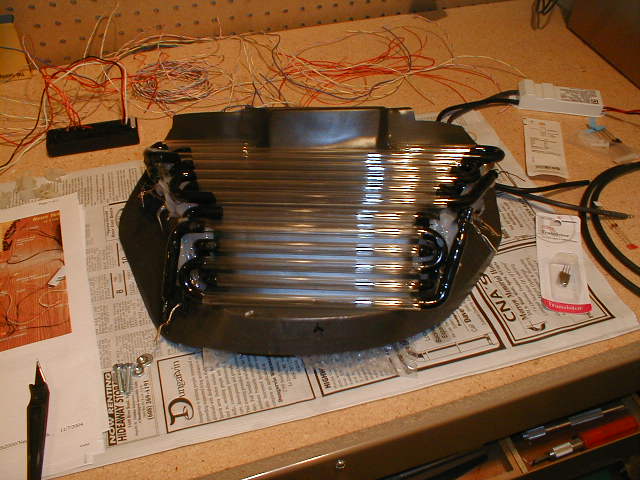
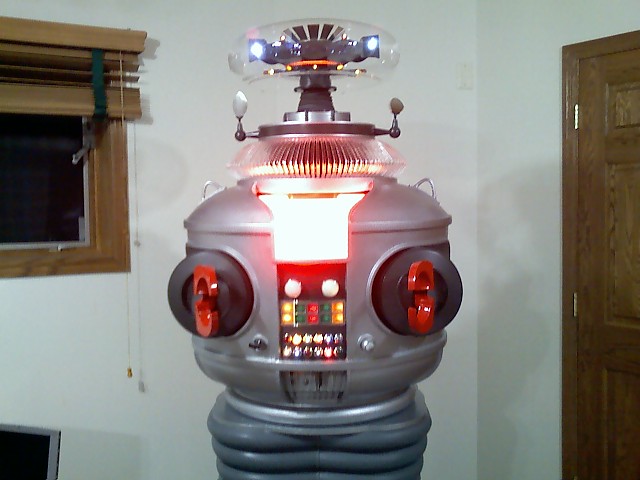
Finger lights mounting & wiring. I hollowed out the base of some small incandescent bulbs and inserted bright LED’s inside. The globes were painted orange. These will move up & down after the motor is installed and the crown will turn also.

The neon “mouth” glued to the back plate and ready for wiring up the neon amp. This will flash in sync with the Robot’s voice just like on the series.
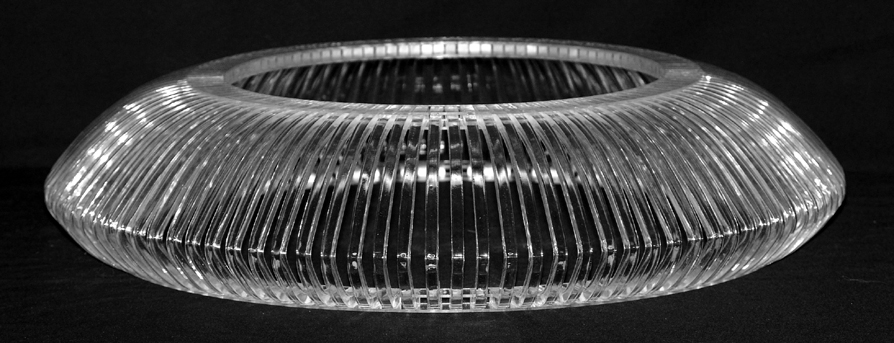
The robots plexiglass collar made by Fred Barton. An exact duplicate of the original robot’s.
You can see the lights and animation done so far here:
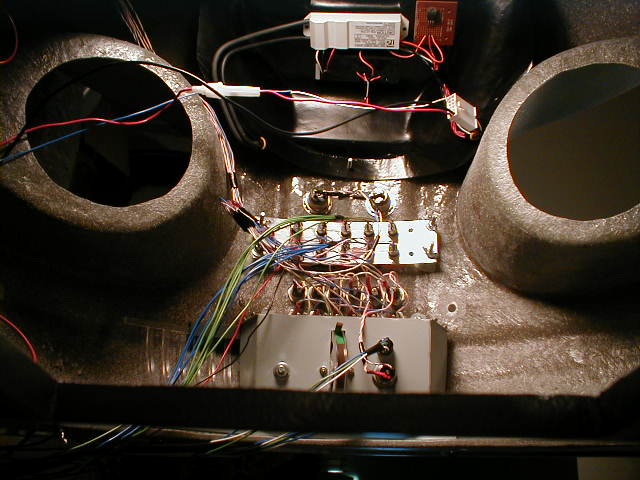
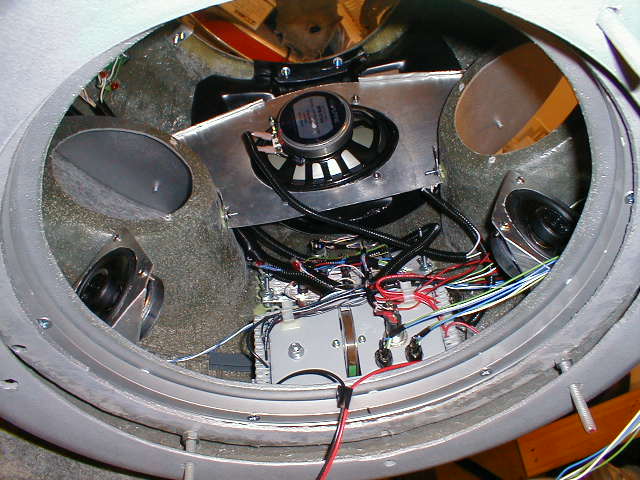
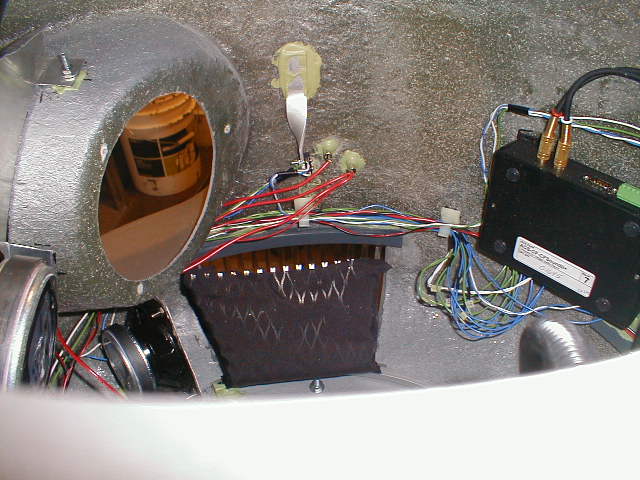
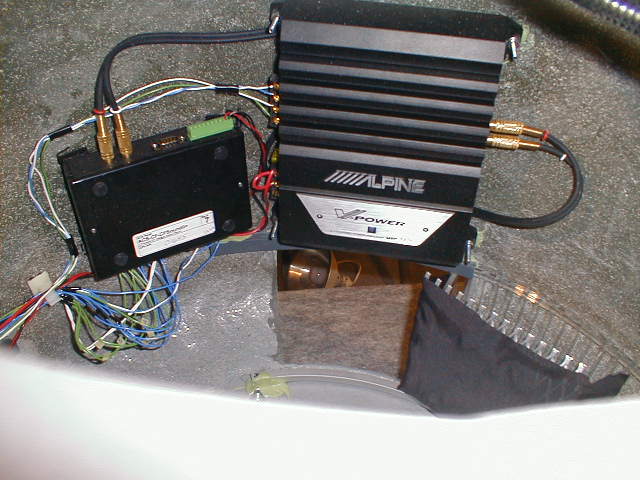
A look at the inside of the torso section with the wiring in place. You can see the speakers and amp. I’m using a CF Sound II module for the voice. www.cfsound.com Later I’ll have a plug on the tread section for a laptop or music source. You can also see the switch setup for the power pack.

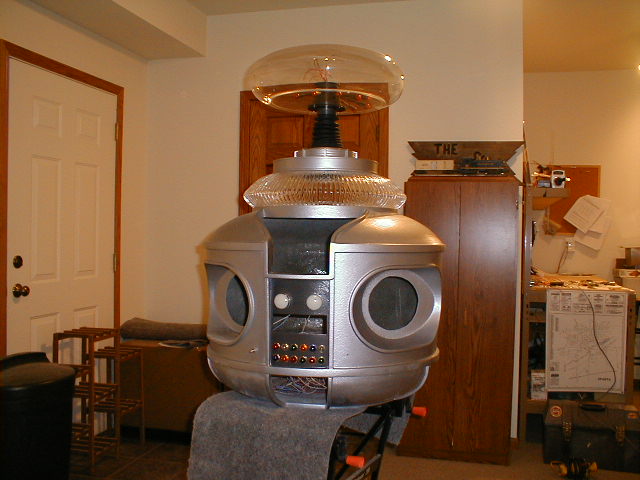
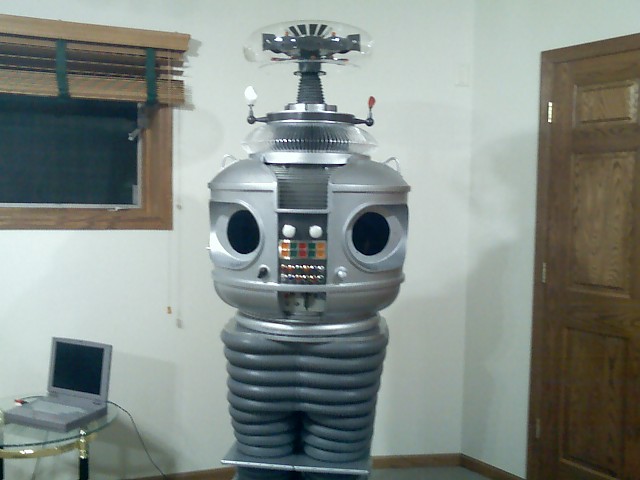
5-25-06 The project so far. Now the legs and tread section are next.
Movie of the B9 operating:
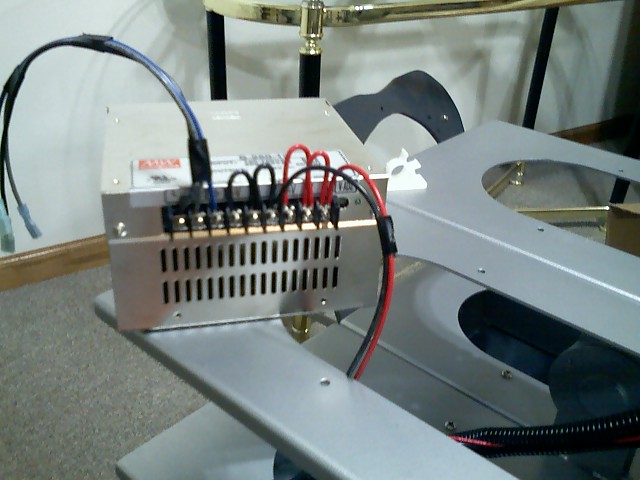
I found a small regulated 12v power supply on Ebay. It fits into one of the legs nicely and powers everything in the robot. Be sure you use a quality supply or you will get noise in the audio system.
.
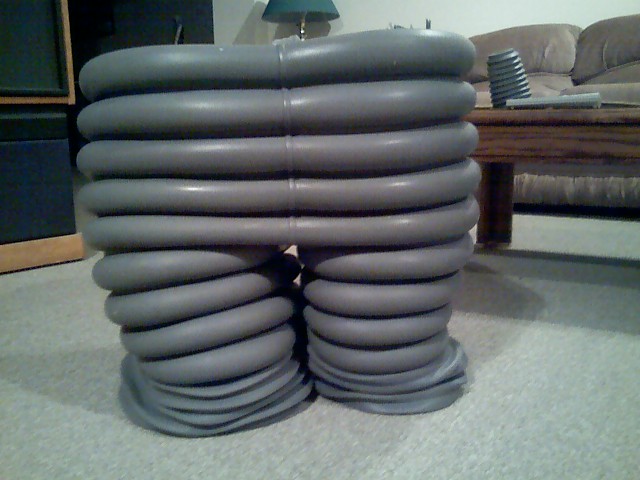
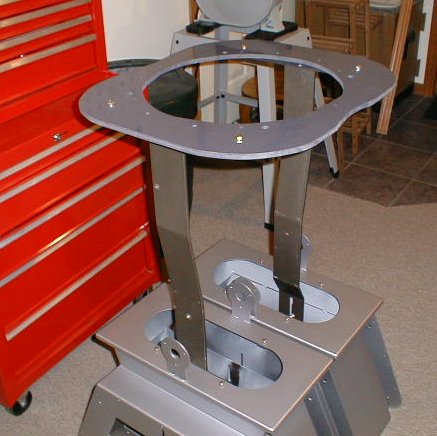
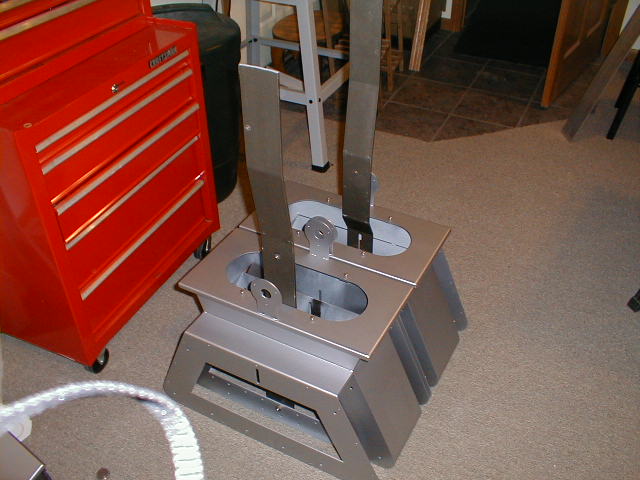
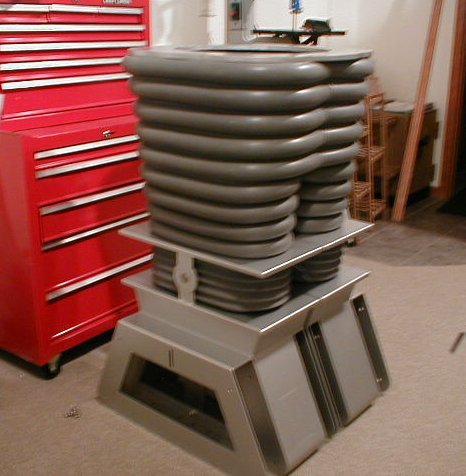
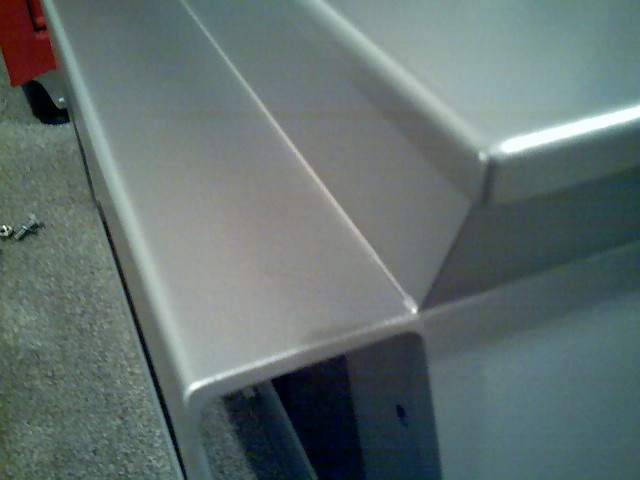
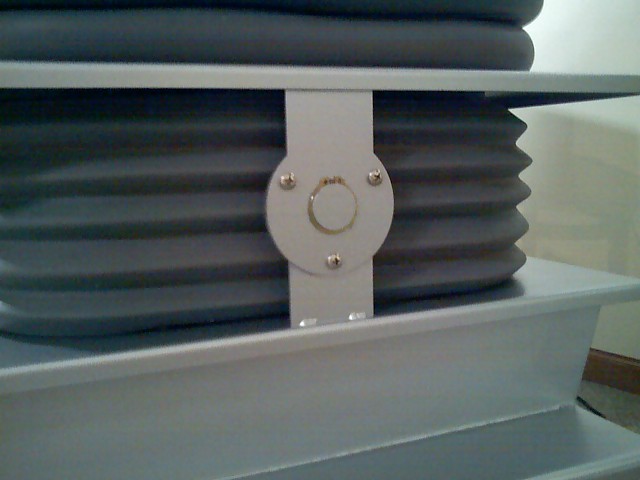
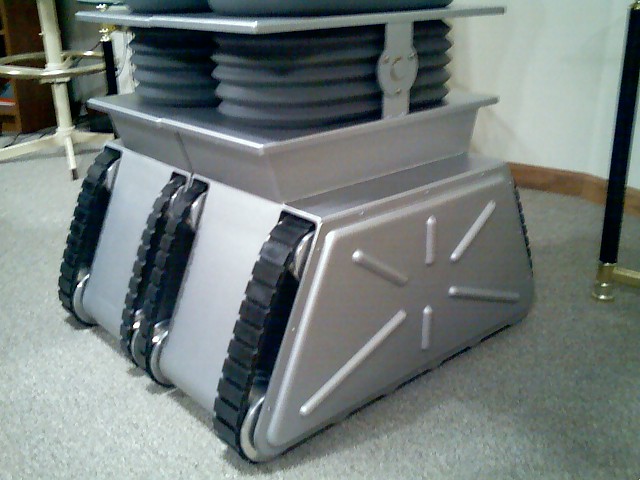
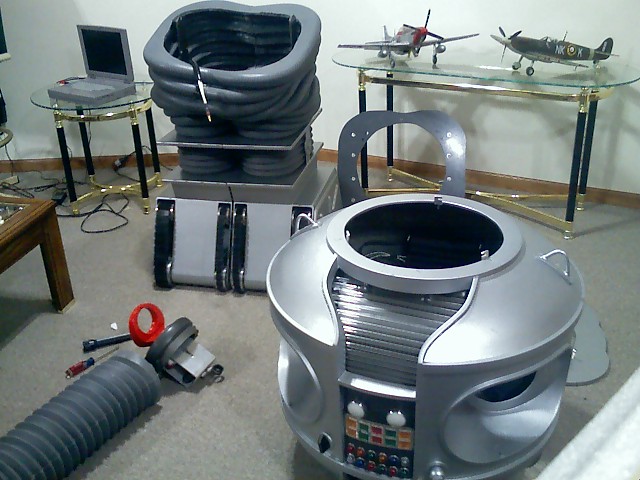
Work has begun on the leg section. Here are some pics of the waist plate, legs and support. The support is made from plans provided by Craig R. Very nice heavy duty design and allows the robot to be used as a costume. The torso can also tilt about 20 degrees forward and backward. The leg supports are set to make the legs at max height. About 38 1/2″ from the floor to the top of the waist plate. The pics farther down the page are with the legs at their shortest height adjustment giving them the squished look like on the TV series. They measure 37″ floor to waist plate.

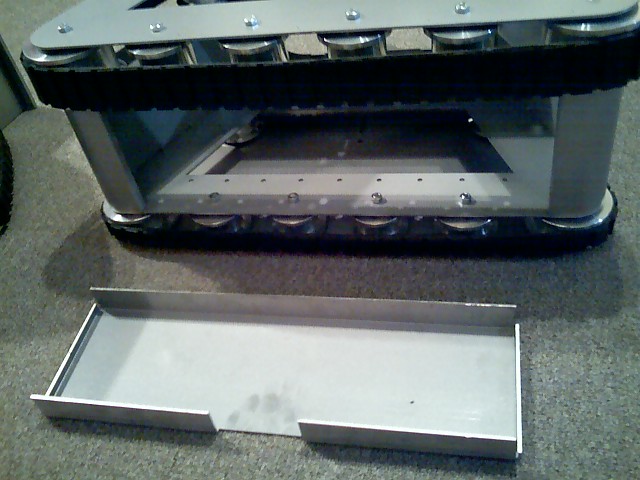
December 2007: I’ve installed the wheels and treads into the tread section. Mine wont be motorized so there is room for a person’s feet while wearing the B9.

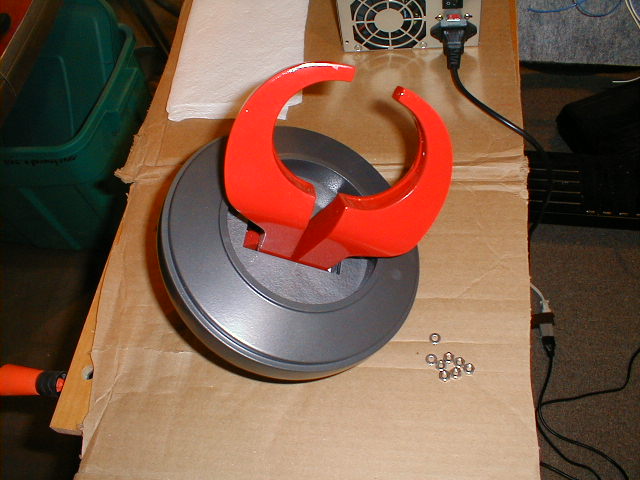
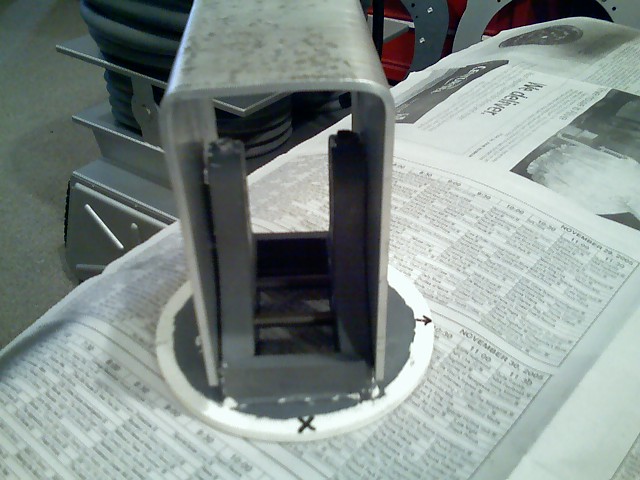
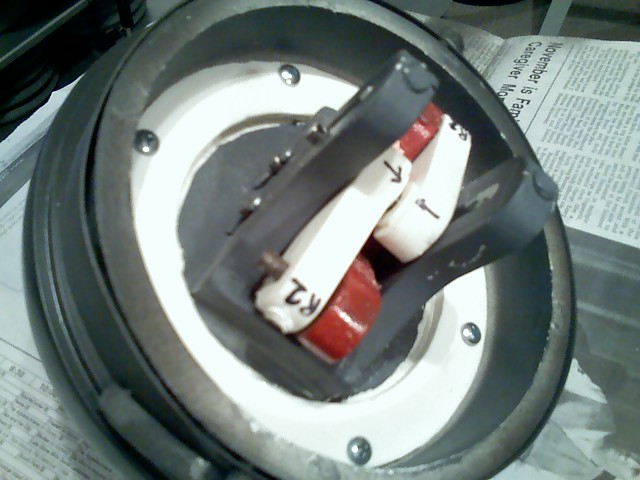
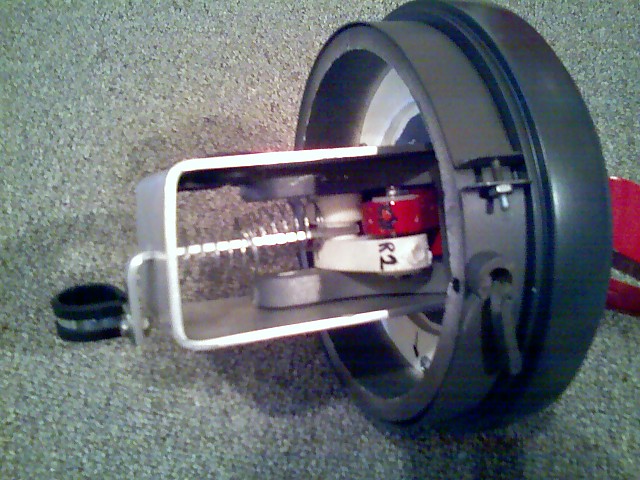
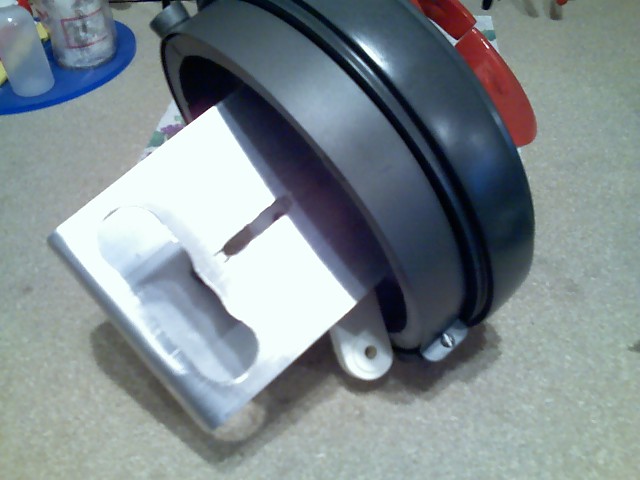
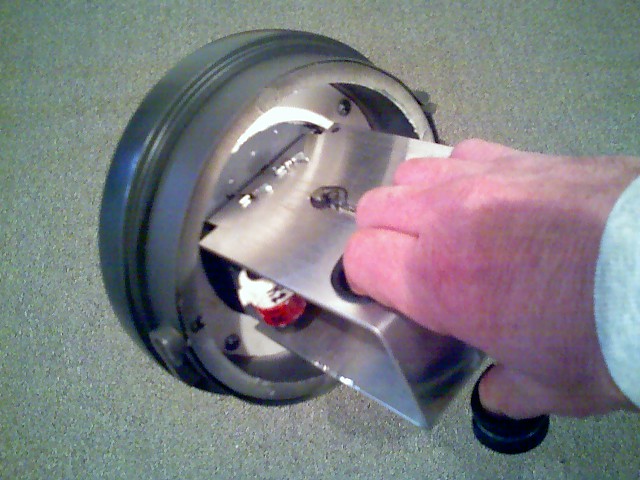
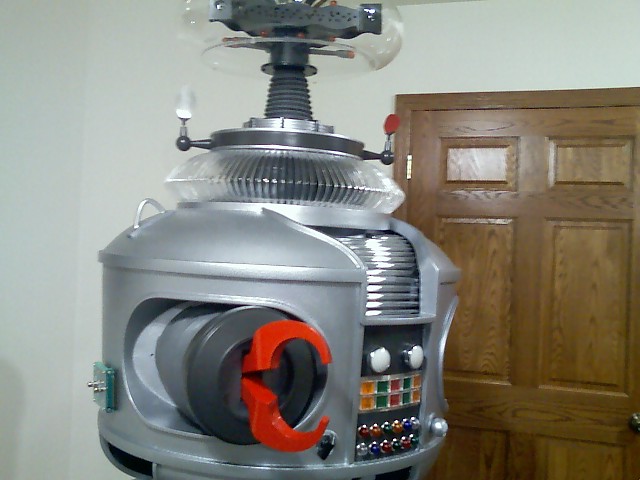
The claws are from Bill K / Rod R. Very nice pieces. I made a mount to operate them by hand. I used a piece of 1/8″ aluminum plate I bent and drilled and added 3/4″ aluminum stock bent 90 deg and a hose clamp for operating them with my thumb. A return spring keeps the claws closed.
Putting all the pieces together….

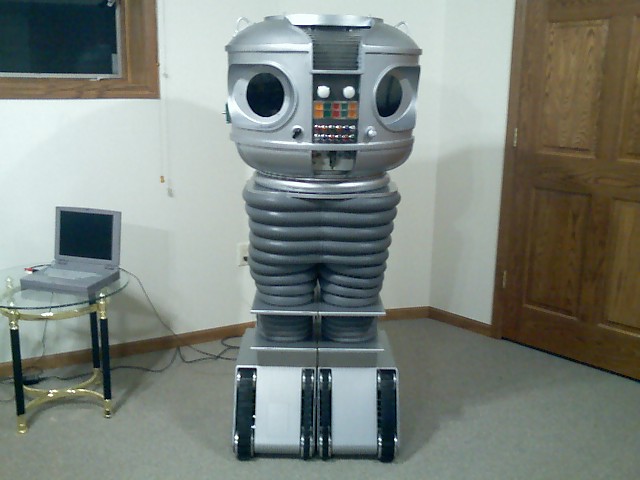
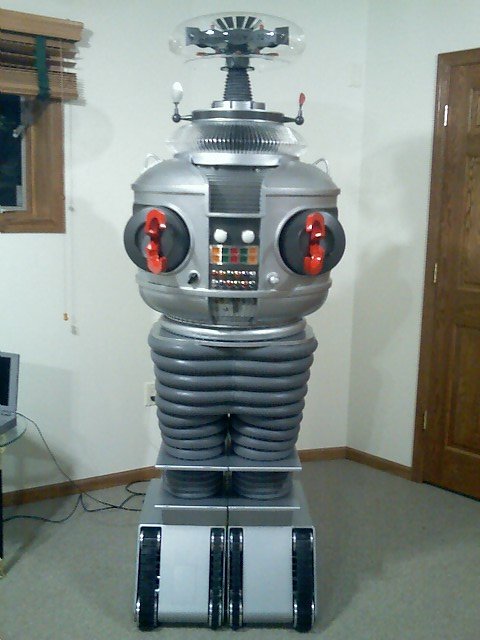
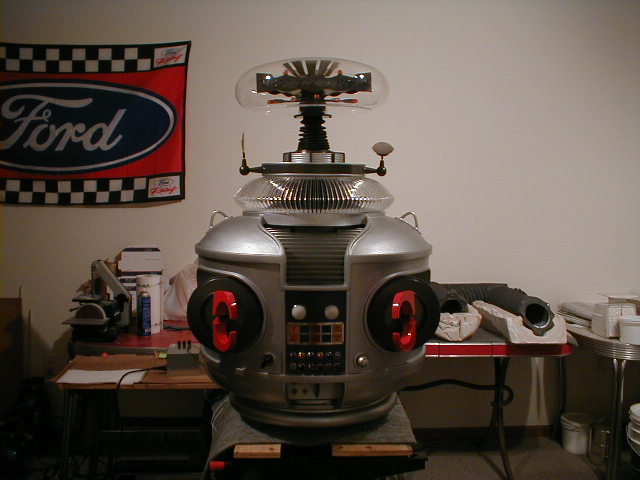
March 2008 finally “done”. I’m sure there will be some changes in the future. Its been a great challenge and lots of fun building.

A vid on You Tube during my first “test drive”
5-22-10 PBS is starting production of the segment in their Pioneers of Television series. It covers SciFi shows from early television.
I was invited to bring my B9 in to their studio for filming to appear in the series. Here are some pics and video from the shoot:
